

Search engine crawlers rely on sitemaps to efficiently discover and index your Laravel application’s content. A well-structured XML sitemap enhances your website’s Search Engine Optimization (SEO) by providing clear instructions for crawlers, ultimately improving your search ranking potential. Let’s follow this tutorial.
Why Use an XML Sitemap?
An XML sitemap acts like a roadmap for search engines, helping them discover and index all the important pages on your website. This improves your SEO by:
- Enhancing Crawlability:Search engines can efficiently find all your content.
- Prioritizing Important Pages:Highlight key pages for search engines to focus on.
- Updating Search Engines:Notify search engines of new or modified content.
Think of it as a clear map for search engines, leading them to all your valuable content for better SEO.
Lets follow this Step by Step
- Install Laravel 11 using Composer.
- Create a migration and model for posts.
- Generate a factory for posts.
- Define a route for sitemap generation.
- Craft a controller for sitemap generation.
- Design a view file to render the sitemap.
- Run your Laravel application to test the sitemap functionality.
Step 1:
To kickstart your Laravel 11 project, utilize Composer, the PHP dependency manager, to install Laravel. This can be achieved by executing the following command in your terminal:
composer create-project laravel/laravel example-appReplace “example-app” with the desired name for your Laravel project directory. This command fetches the latest version of Laravel 11 and sets up a new Laravel project with all the necessary dependencies and directories.
Step 2: Create Post Migration and Model
For the second step, which involves creating a migration and model, begin by crafting the migration file for the “posts” table. Execute the following command in your terminal:
php artisan make:migration create_posts_tableAfter generating the migration file, proceed to update its code to define the structure of the “posts” table.
Update the generated migration file create_posts_table.php to define the schema of the “posts” table, including columns for ‘title’, ‘slug’, ‘body’, and ‘timestamps’. Here’s the migration code:
<?php

use Illuminate\Database\Migrations\Migration;
use Illuminate\Database\Schema\Blueprint;
use Illuminate\Support\Facades\Schema;

class CreatePostsTable extends Migration
{
    /**
     * Run the migrations.
     *
     * @return void
     */
    public function up()
    {
        Schema::create('posts', function (Blueprint $table) {
            $table->id();
            $table->string('title');
            $table->string('slug')->unique();
            $table->text('body');
            $table->timestamps();
        });
    }

    /**
     * Reverse the migrations.
     *
     * @return void
     */
    public function down()
    {
        Schema::dropIfExists('posts');
    }
}
Next, execute the migration to create the “posts” table in the database:
php artisan migrateNow, create the Post model by running:
php artisan make:model PostUpdate the generated Post model located at app/Models/Post.php to include the necessary fields (‘title’, ‘slug’, ‘body’) and fillable attributes.
<?php

namespace App\Models;

use Illuminate\Database\Eloquent\Factories\HasFactory;
use Illuminate\Database\Eloquent\Model;

class Post extends Model
{
    use HasFactory;

    protected $fillable = [
        'title', 'slug', 'body'
    ];
}
In Step 3, we’ll create a factory for generating dummy post records.
Begin by running the command:
php artisan make:factory PostFactoryThis command generates a factory class named PostFactory in the database/factories directory.
Next, open the generated PostFactory class located at database/factories/PostFactory.php.
Inside the definition method, define the structure of the dummy post data. You can use Faker to generate realistic data for each post attribute.
use Illuminate\Database\Eloquent\Factories\Factory;
use Illuminate\Support\Str;
use App\Models\Post;

class PostFactory extends Factory
{
    protected $model = Post::class;

    public function definition()
    {
        return [
            'title' => $this->faker->sentence,
            'slug' => $this->faker->unique()->slug,
            'body' => $this->faker->paragraphs(3, true),
        ];
    }
}
For example, you might define the structure as follows:/
In this example, the title is generated as a random sentence, slug as a unique slug based on the title, and body as a random set of paragraphs.
Inside the Tinker console, use the factory method to create multiple dummy posts:
php artisan tinker
App\Models\Post::factory()->count(60)->create();
This command will create 60 dummy posts using the PostFactory definition.
With this step completed, you’ve successfully created a factory for generating dummy post records in your Laravel application.
In Step 4, we’ll create a route for the sitemap.
Open the routes/web.php file in your Laravel project.
Define a route for the sitemap. You can do this by adding the following code:
use App\Http\Controllers\SitemapController;

Route::get('sitemap.xml', [SitemapController::class, 'index']);
In this code snippet:
- We import the
SitemapControllerclass. - We define a GET route with the URI
/sitemap.xml. - The route points to the
indexmethod of theSitemapController.
In Step 5, we’ll create a controller named SitemapController to handle the sitemap generation logic.
php artisan make:controller SitemapControllerThis command creates a new controller named SitemapController in the app/Http/Controllers directory.
Next, open the generated SitemapController file located at app/Http/Controllers/SitemapController.php.
Inside the SitemapController, define a method named index which will generate the sitemap XML. Here’s an example implementation:
<?php

namespace App\Http\Controllers;

use Illuminate\Http\Request;
use App\Models\Post;
use Illuminate\Http\Response;

class SitemapController extends Controller
{
    public function index(): Response
    {
        // Fetch all posts
        $posts = Post::latest()->get();

        // Return XML response with posts
        return response()->view('sitemap', [
            'posts' => $posts
        ])->header('Content-Type', 'text/xml');
    }
}
In this code:
- We import the necessary classes:
Request,Response, and thePostmodel. - We define the
indexmethod, which fetches all posts from the database. - We return an XML response using the
response()->view()method, passing the fetched posts to a Blade view namedsitemap.blade.php.
In Step 6, we’ll create a Blade view file named sitemap.blade.php to render the sitemap XML.
Create a new file named sitemap.blade.php in the resources/views/ directory of your Laravel project.
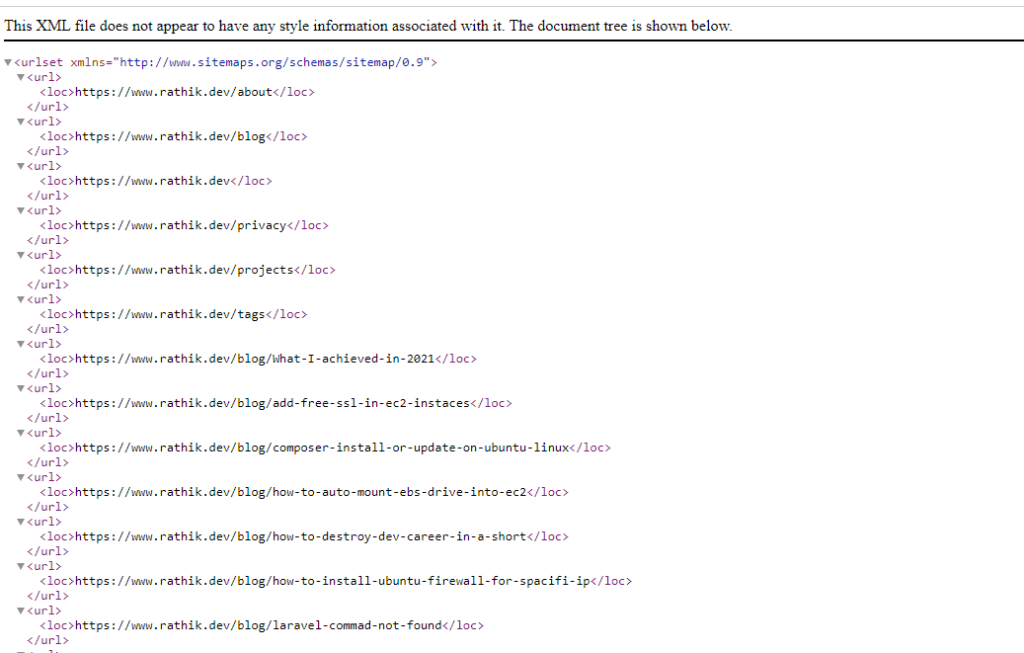
Inside the sitemap.blade.php file, add the following code to generate the XML structure for the sitemap:
<?php echo '<?xml version="1.0" encoding="UTF-8"?>'; ?>
<urlset xmlns="http://www.sitemaps.org/schemas/sitemap/0.9">
    @foreach ($posts as $post)
        <url>
            <loc>{{ url('/') }}/post/{{ $post->slug }}</loc>
            <lastmod>{{ $post->updated_at->tz('UTC')->toAtomString() }}</lastmod>
            <changefreq>weekly</changefreq>
            <priority>0.8</priority>
        </url>
    @endforeach
</urlset>
In this code:
- We start by declaring the XML version and encoding.
- We define the XML structure using the
<urlset>tag, which is the standard format for sitemaps. - Inside the
<urlset>tag, we loop through each post and generate an<url>tag for each post. - Within each
<url>tag, we include the post URL, last modified date, change frequency, and priority.
At final Step :
To run your Laravel application and test the sitemap functionality, execute the following command in your terminal:
php artisan serveThis command starts the Laravel development server, and your application will be accessible at the default URL http://127.0.0.1:8000 (unless configured otherwise).